Driver Check Procedure#
Startup and Communications#
Basic steps to power things up and check the drivers of the robot:
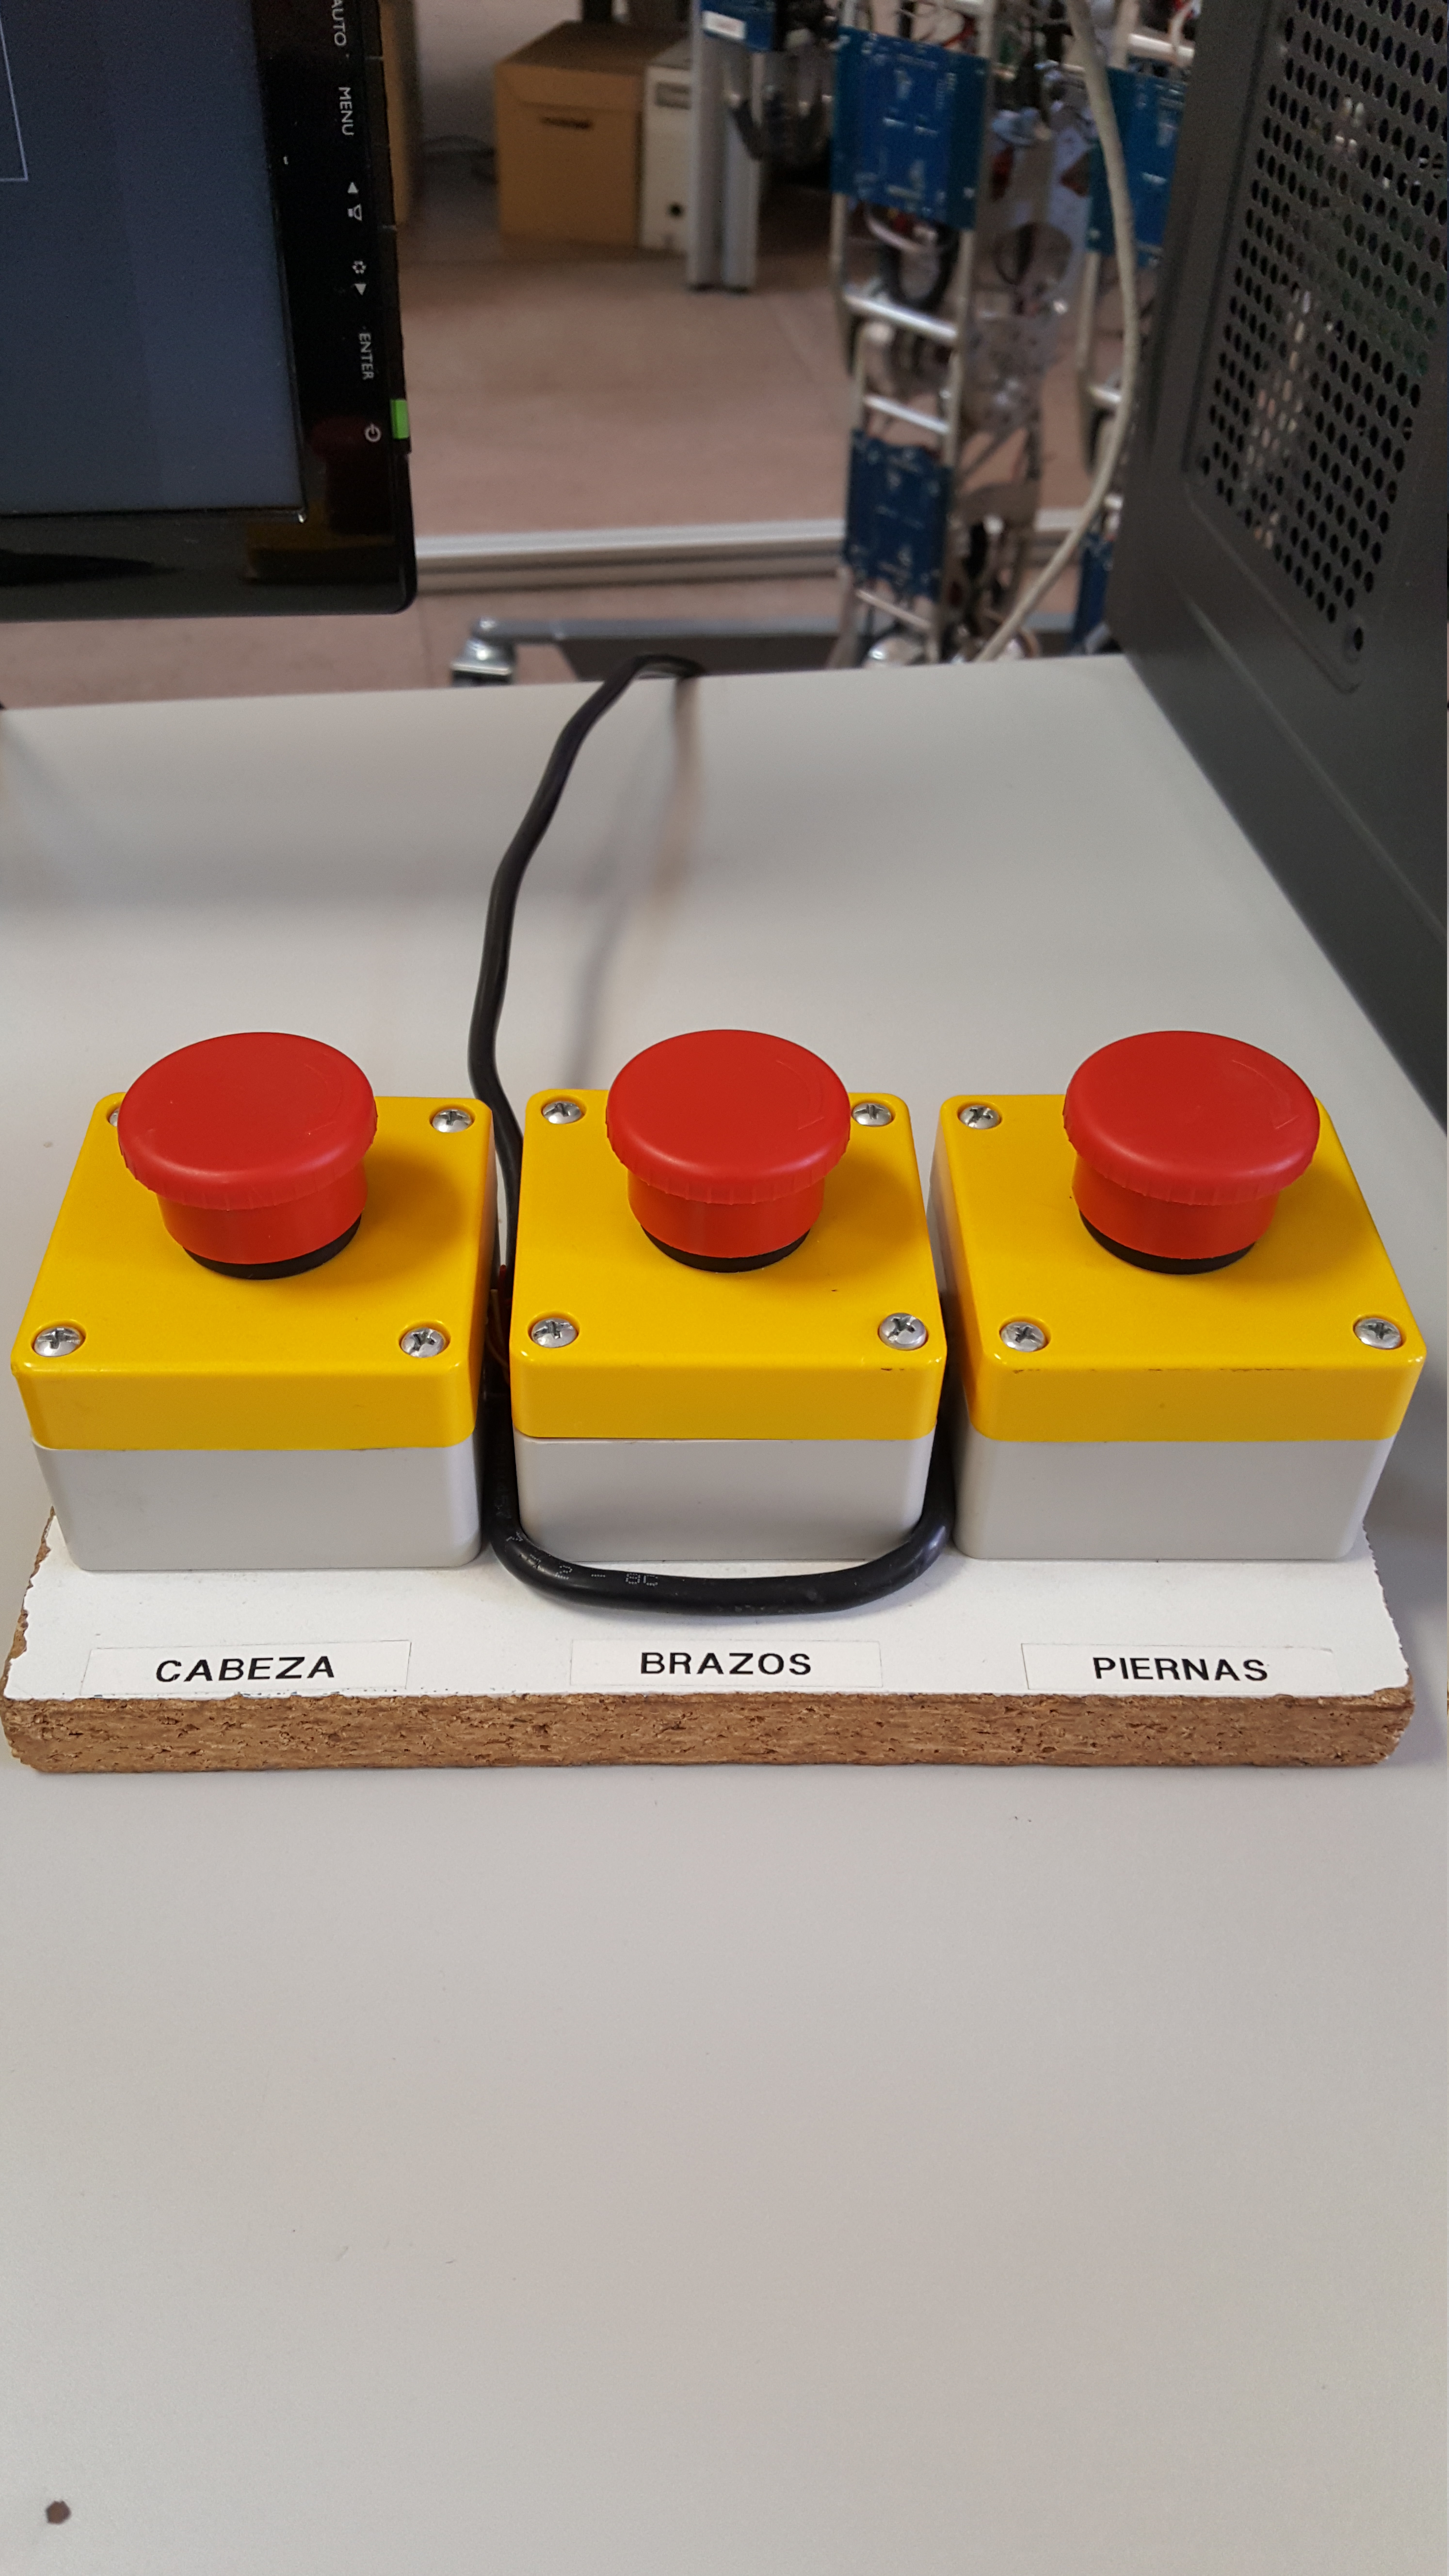
- Make sure all emergency stop buttons (main and per robot part) are closed.
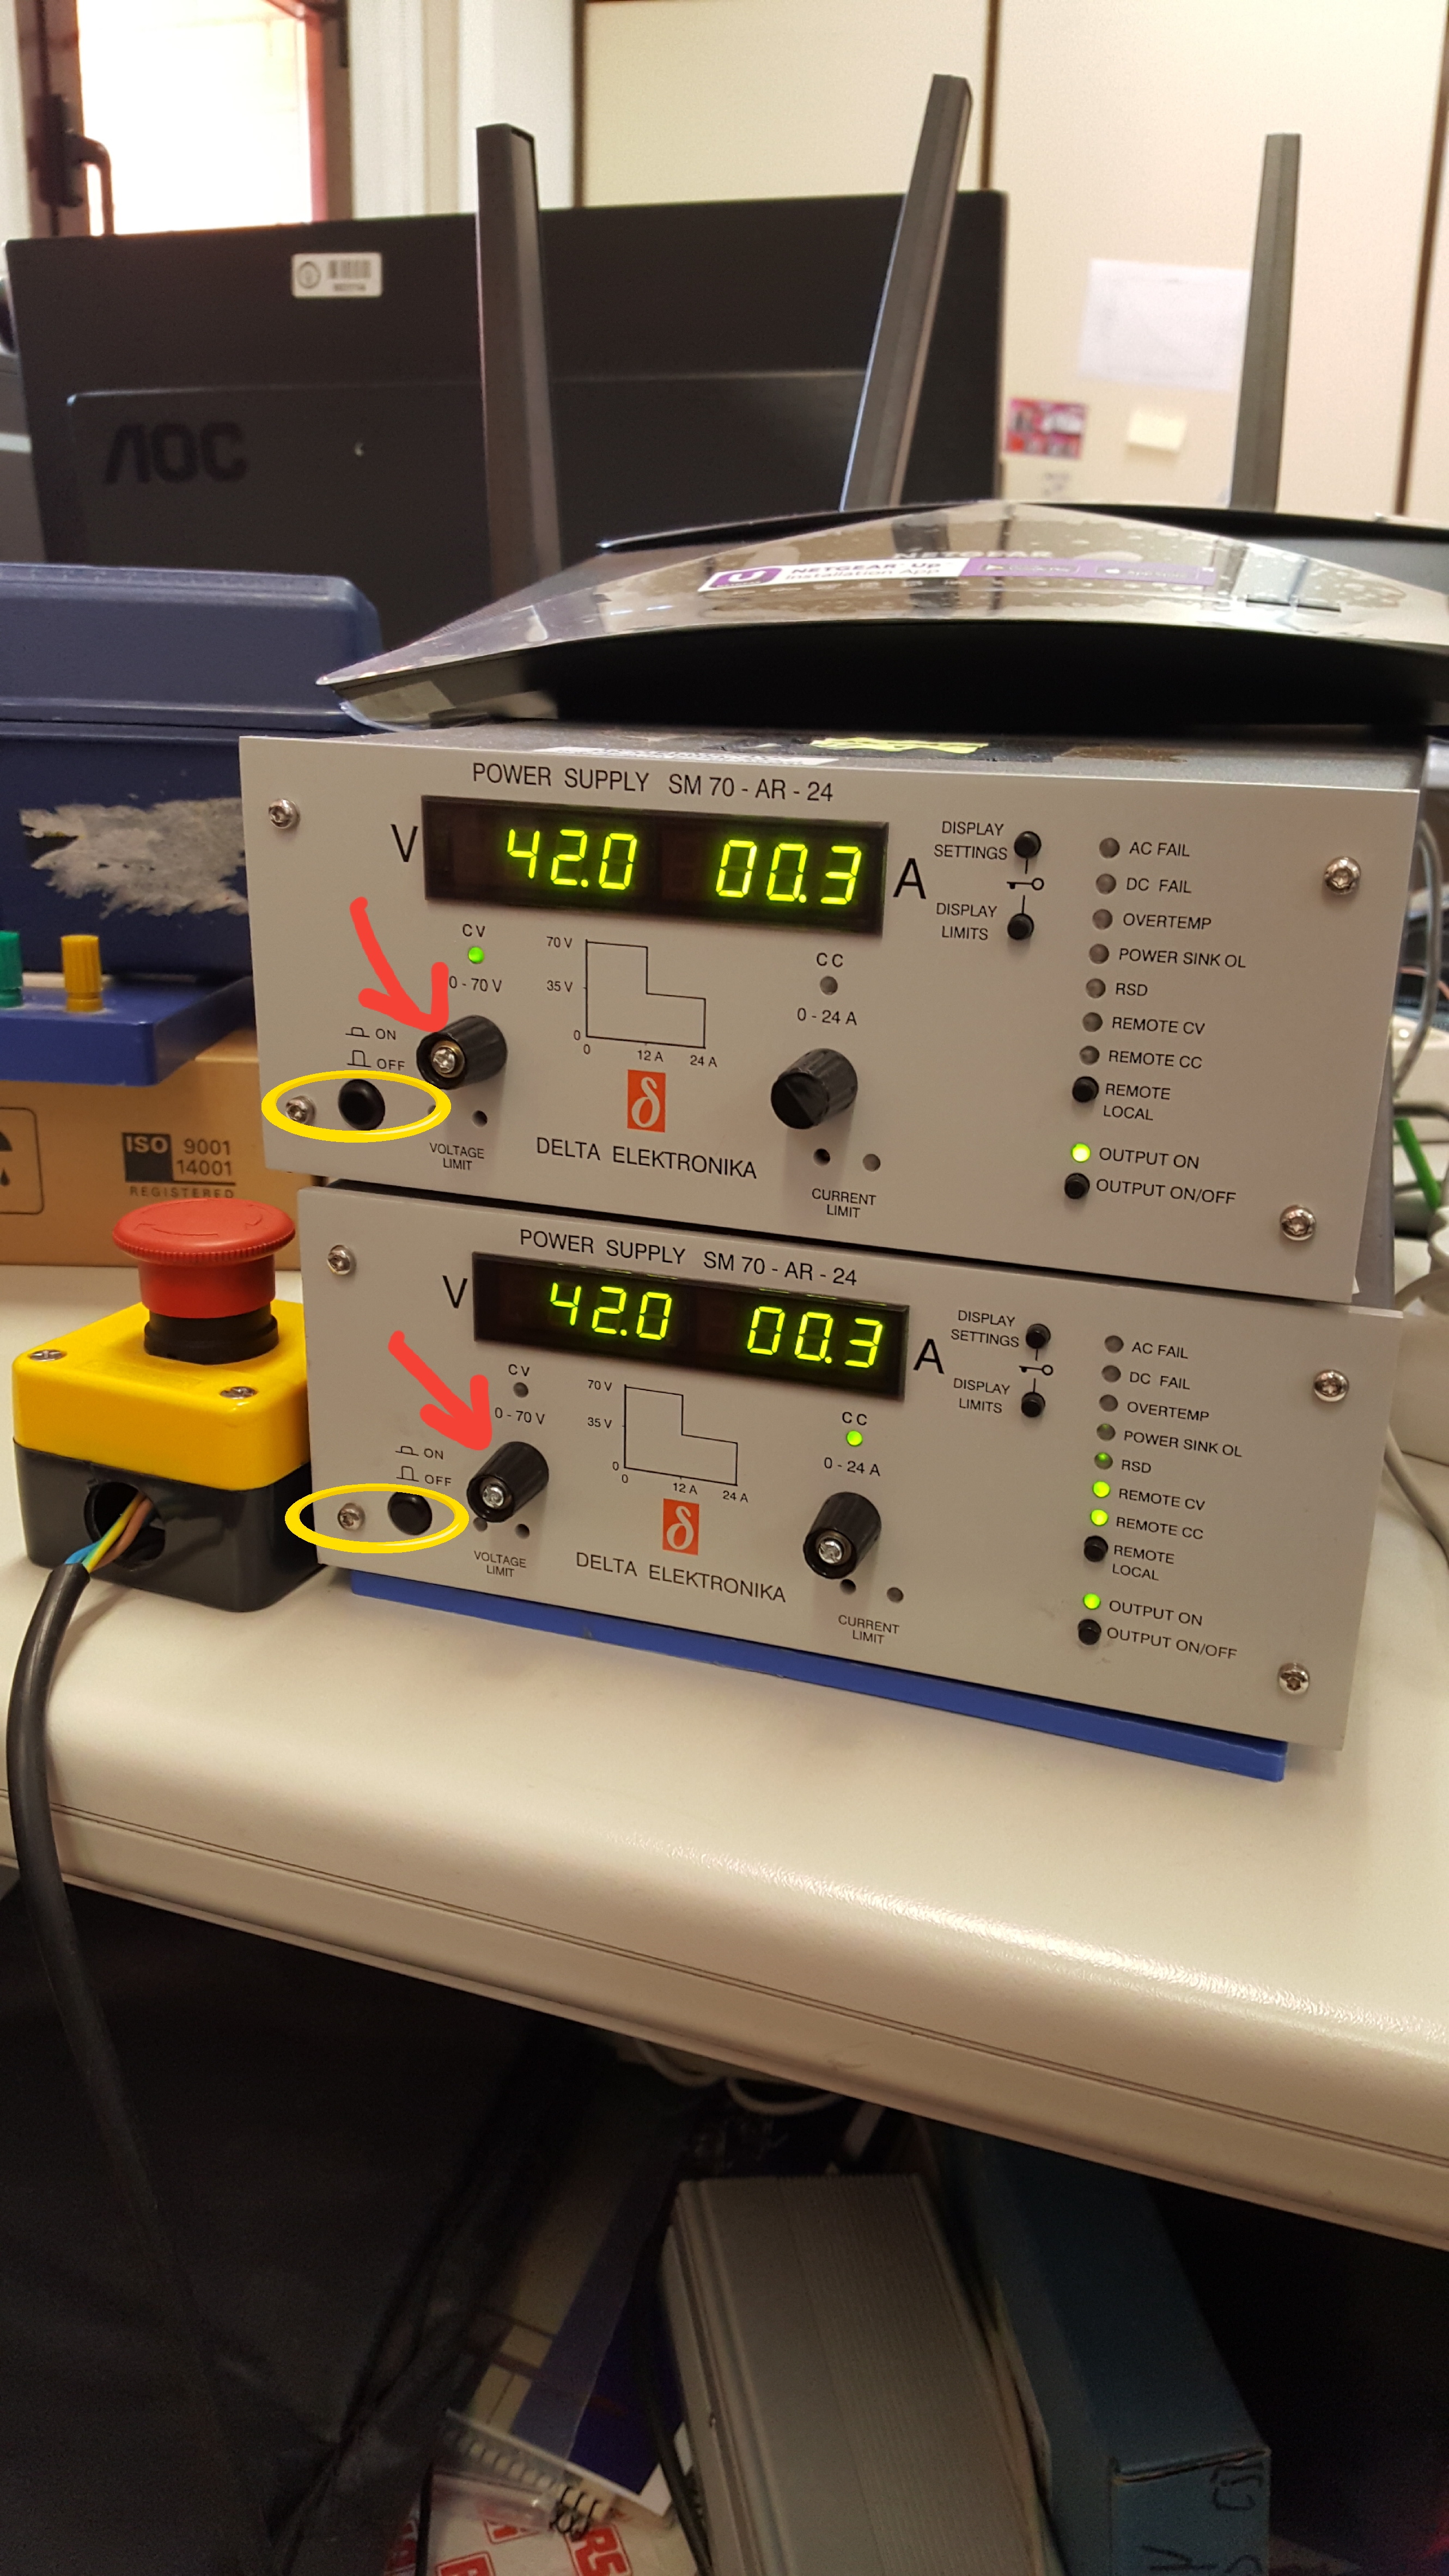
- Turn on both 42V power supplies (check they are actually at 42V before proceeding further) and open the main emergency button.
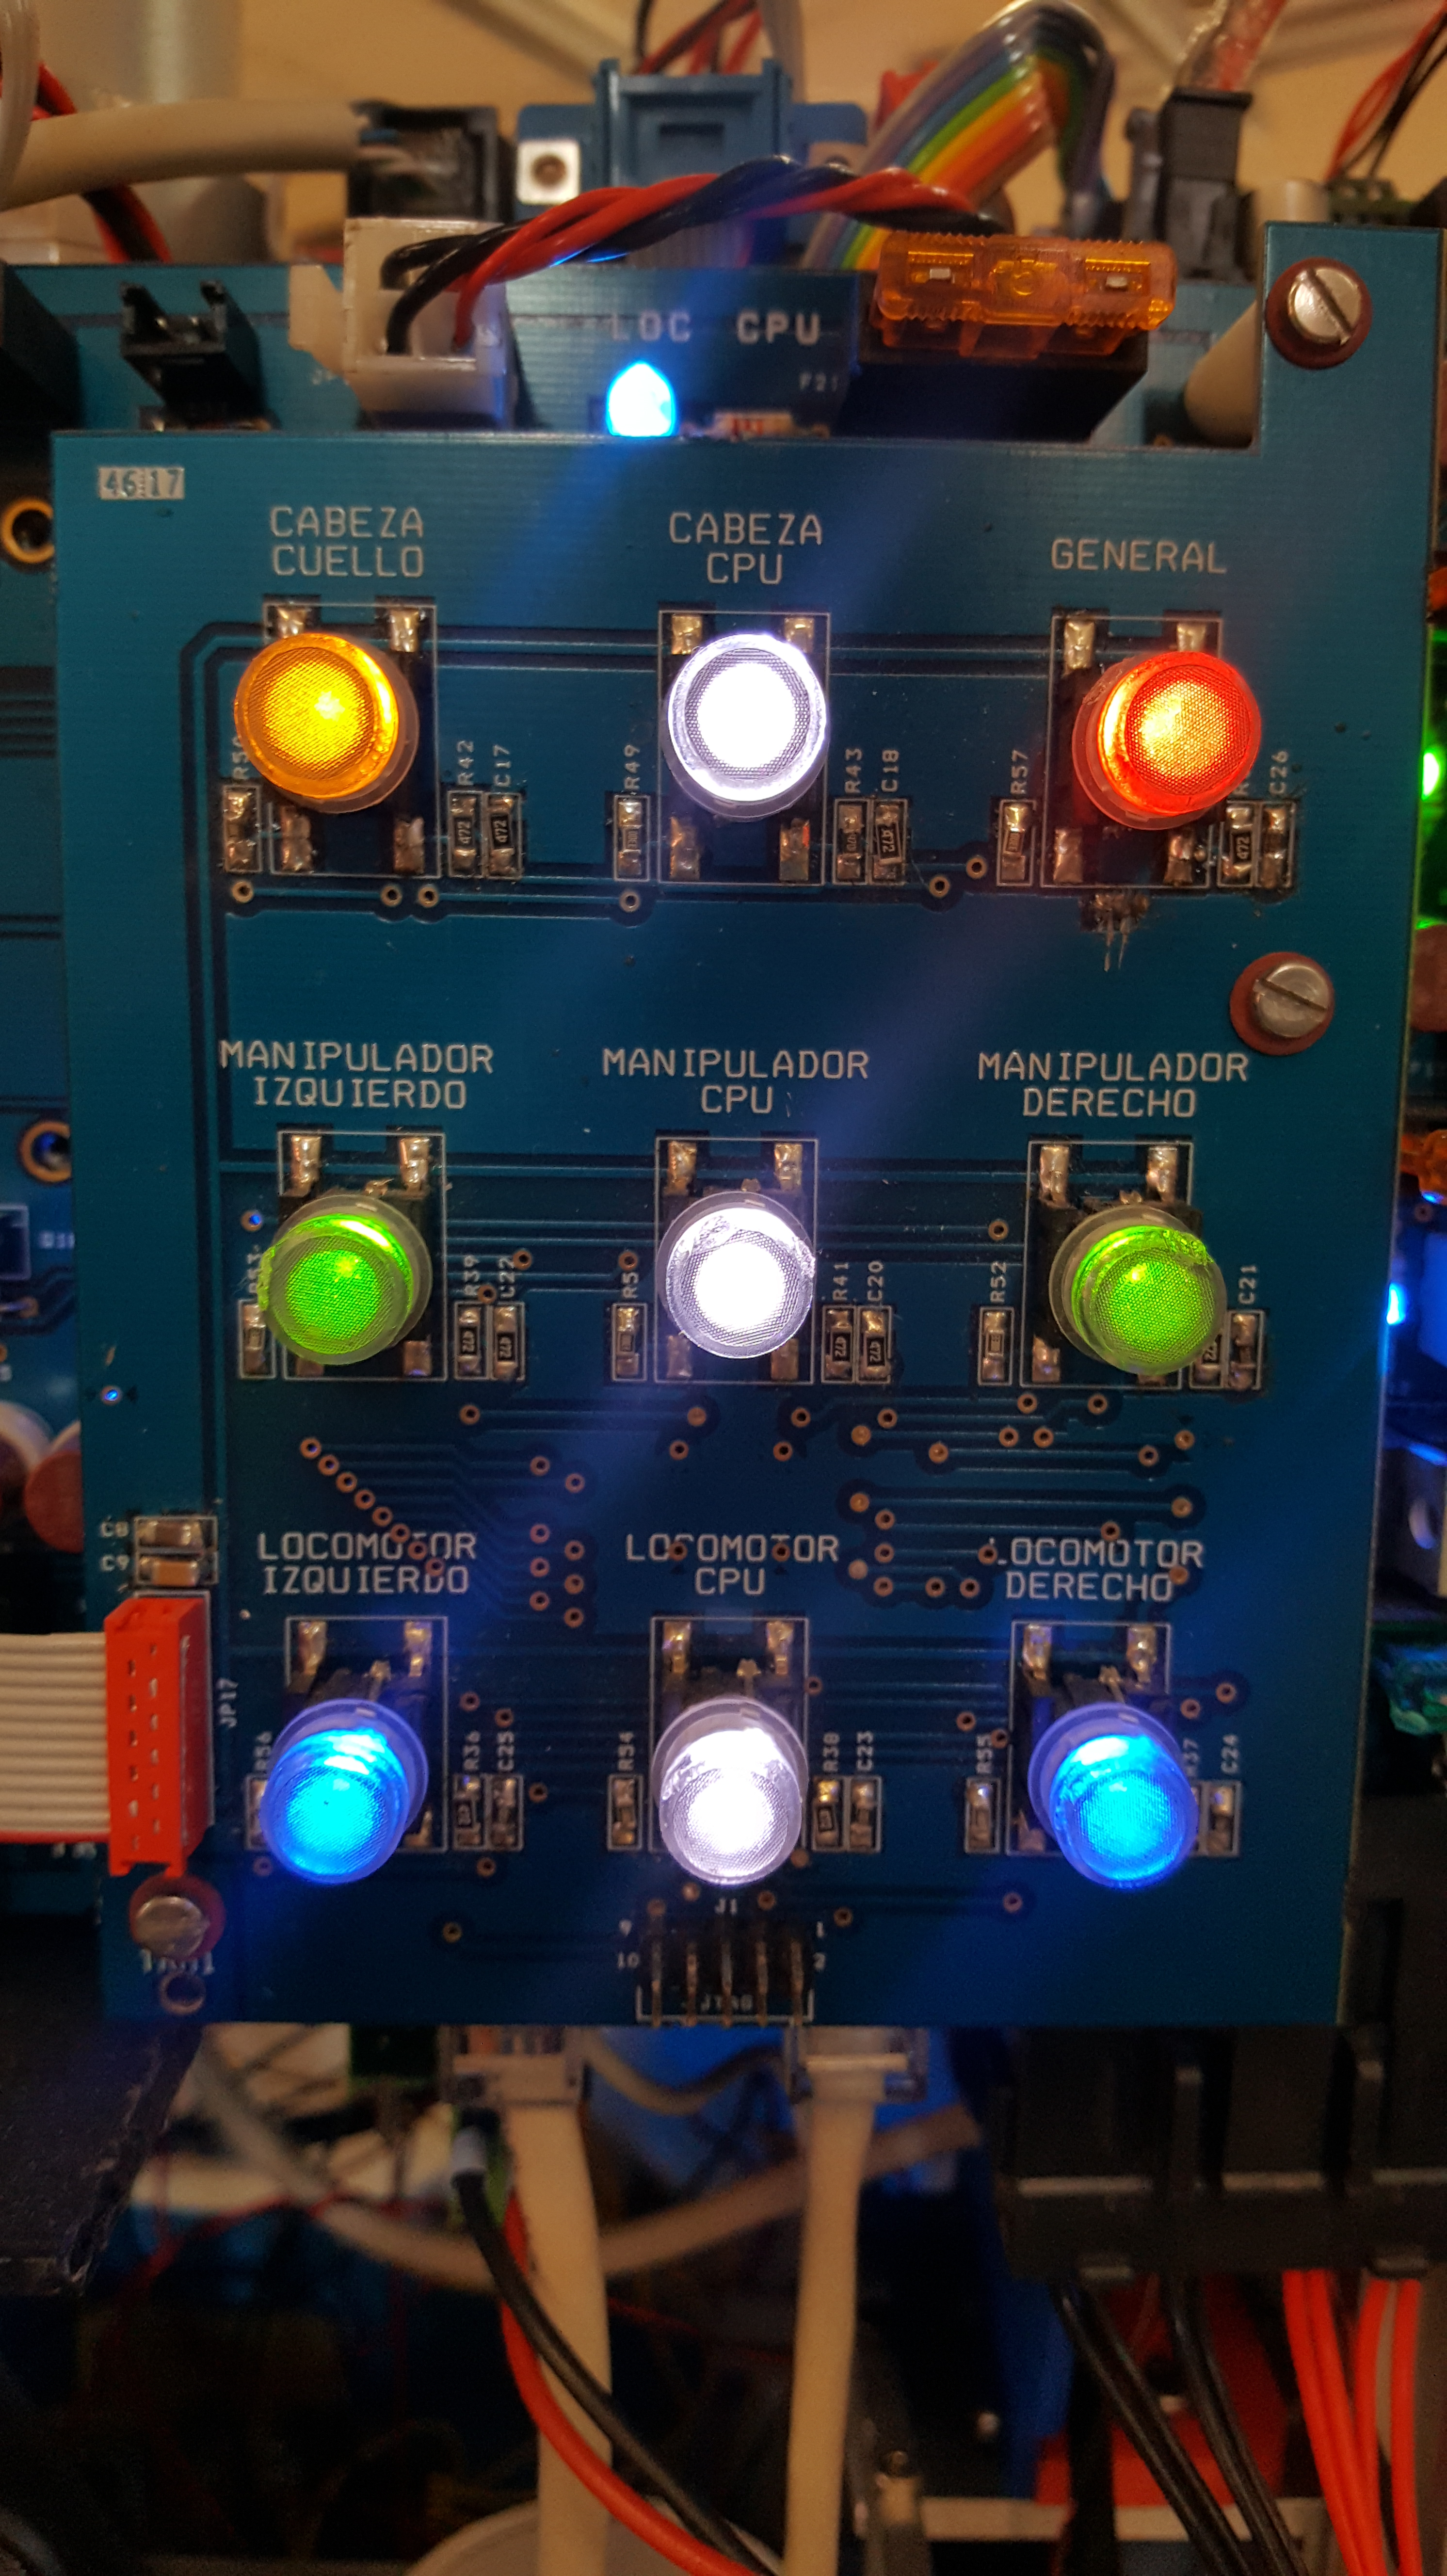
- On the rear panel of the robot, press the "General" red button first. The button should light up.
- Press other relevant buttons and make sure they light up: manipulation PC and the desired robot part.
- Turn on the manipulation PC.
- Wait until the manipulation PC has finished booting. You can monitor this through
ping manipulationissued from another PC connected to the robot's local network. - Issue
ssh teo@manipulationfrom said external PC (alternatively:ssh teo@2.2.2.51). - Identify the desired CAN bus interface (check our diagrams).
- For instance, to check the right arm, issue
candump can2. - Open the emergency button corresponding to said robot part (arms).
- Check that the status LEDs on all iPOS drives are green.
- Otherwise, a red LED would usually hint a communication problem. In that case, close the emergency button and review all CAN connectors (usually it is enough to press them a bit harder), then check again.
- At the same time the emergency button was opened, you should see the boot-up CAN messages issued by the drives showing up in the terminal, one per drive, using a COB-ID of the form 714 (hexadecimal), where 700h is the command specifier and 14h (=20) the drive ID (refer to our diagrams and mind the hex-to-decimal conversion).
- If any bootup message is missing, this means the drive is not communicating properly. Close the emergency button and check the CAN connectors. You can isolate the problem by disconnecting downstream drives, i.e. leaving only the relevant drives connected to the bus, including the faulty one. Once fixed, with
candumpstill running, open the emergency button and check the newly generated bootup messages.
Joint Motion#
Once all connection issues (if present) have been sorted out, you can proceed to performing joint motion:
- Assuming we want to send joint commands to the right arm, while still logged in via SSH to the manipulation PC:
launchCanBus --from manipulation-rightArm.ini. - Identify any errors, if present. The controller has restart mechanisms that may attempt to recover from errors and may or may not succeed.
- Absolute encoders are prone to fail. They are given a fixed number of retries. If it is not possible to establish communication, the YARP plugin related to this iPOS drive and encoder also fails on initialization. Terminate the
launchCanBusprocess and try again. - On either the robot's PC through another SSH session or on an external PC connected to the robot's local network, issue
yarp rpc /teo/rightArm/rpc:i. - On startup, robot joints should be set in position control mode. Within the RPC session, issue
get icmd cmds. This should return a list ofposvocabs. - If any vocab is not equal to
pos(usually in case of failure its value iscfgn, which means "not configured"), identify the error in the console output. - Make sure there are no obstacles ahead (including the robot itself) and identify the desired joint index in the diagrams. For instance, to move the fourth joint to -90 degrees, issue
set pos 3 -90.
Shutdown#
To shut everything down:
- Close all emergency buttons apart from the main one (next to the power supplies).
- While still logged in via SSH to the relevant PC, issue
sudo shutdown -h now. Your SSH connection should close automatically. - Turn off the "General" button on the rear panel of the robot.
- Close the main emergency button and turn off the 42V power supplies.
Troubleshooting#
- Prior to attempting any communications through YARP with the robot, make sure your PC is connected to the same local network and it can see the YARP master on the robot's PC. You can check this by issuing
yarp detect --writeon your PC. If not successful, typeyarp conf 2.2.2.51 10000and try again. Issueyarp name listto confirm you can see/rootand/manipulationports. - Sometimes, the CAN controller on the robot PC might need a restart due to accumulating too many RX or TX CAN errors. Check this via
sudo ip -details link show can2. If in "ERROR-PASSIVE" mode (i.e. any counter has reached 128 errors), restart the controller viasudo systemctl restart can2. - If any absolute encoders keeps throwing timeout errors via
launchCanBus, you can disable it by commenting out (with//) theexternalEncoderline in the corresponding idxx-ipos.ini file, where xx is the CAN ID of the associated iPOS drive. This INI file can be found in~/teo/nodes/. Keep in mind the initial position of the joint on startup will be reported as the absolute zero position by the encoder, so you will either have to manually set the joint to zero position before starting any motion, or move it via RPC commands and trick the drive into thinking the current position is the new zero (viaset enc j 0, wherejis the joint index). - An "encoder broken wire" error reported by
launchCanBusmeans that the physical connection between the specified iPOS drive and the relative encoder is faulty. Check the cable (could be reversed or damaged), the connector and/or the encoder itself.
See also#
- YARP RPC cheatsheet
- teo-hardware-issues: report any hardware-related issues here!